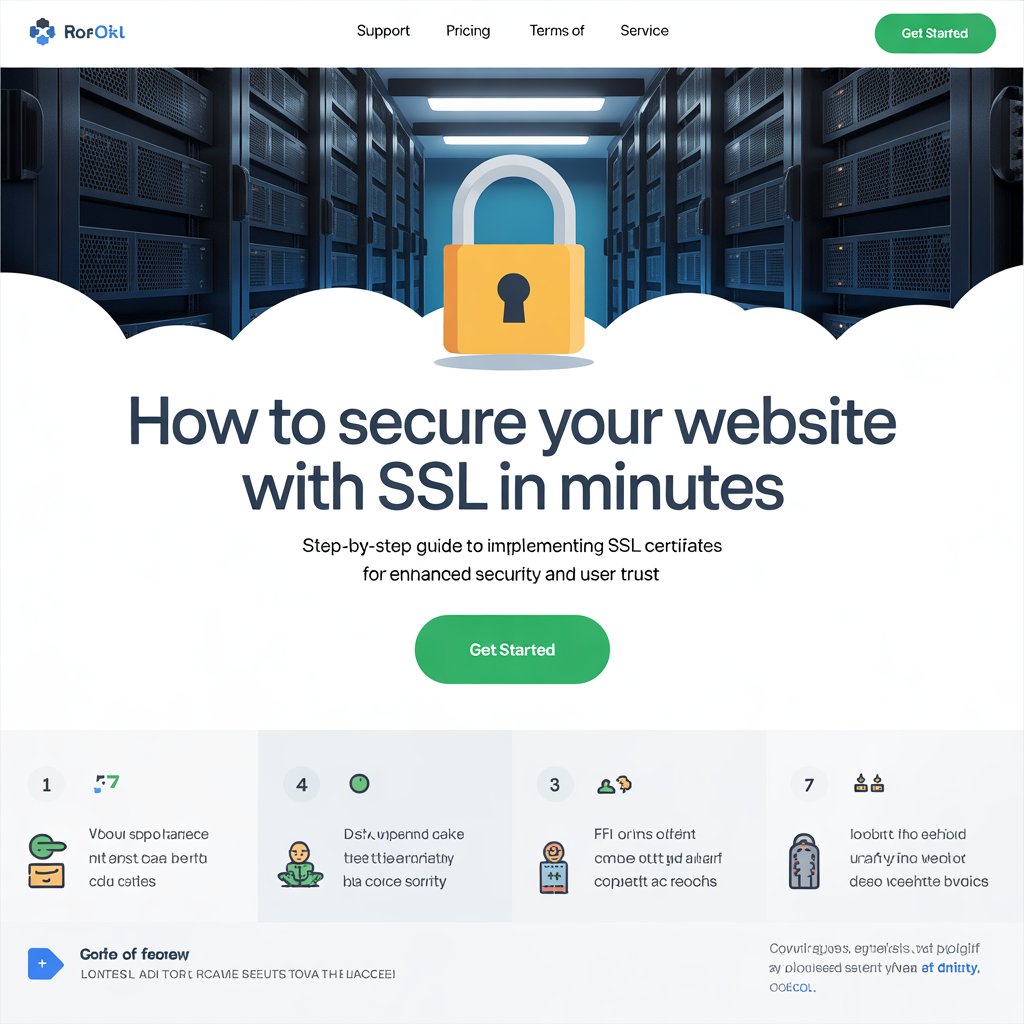
How to Secure Your Website with SSL in Minutes
Did you know that over 85% of internet users abandon websites that aren’t secure? With cyber threats rising and Google prioritizing HTTPS sites, knowing how to secure your website with SSL in minutes isn’t just smart — it’s essential. But is it really possible to implement SSL quickly without hassle? Absolutely. This guide walks you through securing your website efficiently, protecting your visitors, and boosting your SEO ranking—all in just a few minutes.
Ingredients List
To secure your website with SSL, here’s what you’ll need:
- A domain name: Your website’s address (e.g., www.yoursite.com)
- Hosting provider access: Your web host control panel or cPanel login
- SSL Certificate: You can get a free one via Let’s Encrypt or purchase from providers like Comodo, DigiCert, or Sectigo
- FTP or file manager access: For manual installations or adjustments
- Content Management System (CMS): Such as WordPress, Joomla, or Drupal (optional, but helps streamline the process)
Substitutions & Tips:
- If you don’t have hosting control panel access, use your hosting company’s support for SSL setup.
- Consider managed WordPress hosting with built-in SSL for a plug-and-play experience.
- Use plugins like “Really Simple SSL” to automate SSL activation on CMS platforms.
Timing
Securing your website with SSL typically takes:
- 5 to 15 minutes if using a hosting provider’s auto-SSL feature.
- Up to 30 minutes for manual certificate installation.
This is significantly faster compared to traditional security upgrades that can take hours or days, making SSL a quick and effective first step to website protection.
Step-by-Step Instructions
Step 1: Check if Your Host Offers Free SSL
Most modern hosting providers like Bluehost, SiteGround, and HostGator provide free SSL certificates through Let’s Encrypt. Log in to your hosting control panel and look for “SSL/TLS” or “Security” sections.
Pro Tip: Use your hosting provider’s knowledge base for step-by-step SSL activation guides tailored to their platform.
Step 2: Activate the SSL Certificate
Once found, enable the free SSL certificate for your domain. This usually involves a simple toggle or button press, and the certificate will be issued automatically.
Tip: If your host doesn’t provide free SSL, purchase one from trusted vendors or use free options like Let’s Encrypt through third-party tools such as Certbot.
Step 3: Update Your Website URL to HTTPS
After activation, change your website’s URL from HTTP to HTTPS to ensure all traffic is encrypted.
- For WordPress, navigate to Settings > General, and update the WordPress Address (URL) and Site Address (URL) to use https://.
- For other CMS or custom sites, update the configuration files or database URLs accordingly.
Step 4: Force HTTPS Using Redirects
To make sure visitors always use the secure version of your site, add a redirect in your .htaccess file or use plugins if available.
Here’s a typical .htaccess redirect rule:
RewriteEngine On
RewriteCond %{HTTPS} off
RewriteRule ^(.*)$ https://%{HTTP_HOST}%{REQUEST_URI} [L,R=301]
Pro Tip: Always back up your
.htaccessbefore editing.
Step 5: Test Your SSL Installation
Verify your SSL certificate is working correctly using tools like SSL Labs’ SSL Test. It’ll check for any vulnerabilities and confirm your site is fully secure.
Nutritional Information
Just like a healthy recipe, securing your website with SSL provides vital benefits:
- Data encryption: Protects sensitive user data like passwords and payment information.
- Trust signals: Displays the padlock icon in browsers, boosting user confidence.
- SEO advantages: Google favors HTTPS sites, improving rankings.
- Compliance: Helps meet regulations like GDPR and PCI-DSS.
| Benefit | Description | Impact |
|---|---|---|
| Data Privacy | Encrypts data between server and browser | Prevents interception & hacking |
| User Trust | Padlock icon & HTTPS URL | Increases user engagement & sales |
| Search Ranking | SEO boost from Google | Higher visibility & traffic |
| Legal Compliance | Meets standards for data protection | Avoids penalties & legal issues |
Healthier Alternatives for the Recipe
Want to boost your website security beyond SSL?
- Implement HTTP Strict Transport Security (HSTS): Forces browsers to always use HTTPS, reducing risks of downgrade attacks.
- Use Content Security Policy (CSP): Prevents cross-site scripting (XSS) and other code injection attacks.
- Enable Two-Factor Authentication (2FA): Adds extra login security.
- Regularly update your CMS and plugins: Avoid vulnerabilities caused by outdated software.
These add-ons enhance your site’s overall “nutritional value” and keep your online presence robust.
Serving Suggestions
Now that your website is secure, here’s how to make the most of it:
- Display security badges on checkout or login pages to increase conversions.
- Inform visitors in your privacy policy about SSL protection.
- Use HTTPS in marketing materials for better brand trust.
- Leverage faster SSL-enabled hosting to improve site speed and user experience.
A secure website serves both your users and your business better!
Common Mistakes to Avoid
- Not renewing SSL certificates on time: This leads to expired certificates and browser warnings.
- Forgetting to update internal links to HTTPS: Can cause mixed content warnings, harming SEO and user experience.
- Ignoring redirects: Without forcing HTTPS, users can still access unsecured pages.
- Not testing after installation: You might miss errors or incomplete SSL setups.
Avoid these pitfalls by staying proactive and following best practices.
Storing Tips for the Recipe
To keep your website secure long-term:
- Automate SSL renewals when possible to avoid expiry.
- Backup your SSL certificates and private keys securely.
- Document your SSL setup process for easy troubleshooting.
- Schedule regular security audits to catch potential issues early.
By properly “storing” and maintaining your SSL setup, you ensure sustained protection and peace of mind.
Conclusion
Securing your website with SSL in minutes is a straightforward, impactful step to protect your data, boost SEO, and build trust. Follow this guide, and you’ll have HTTPS up and running quickly. Ready to secure your site? Try it today and share your experience below! Don’t forget to subscribe for more web security tips.
FAQs
Q1: Can I get SSL for free?
Yes! Let’s Encrypt offers free SSL certificates trusted by all major browsers.
Q2: How often do I need to renew SSL certificates?
Certificates typically last 90 days (Let’s Encrypt) to 1-2 years. Many hosts automate renewal.
Q3: Will SSL slow down my website?
No, modern SSL uses efficient protocols that minimally impact speed and often improve SEO.
Q4: What if I have mixed content warnings after installing SSL?
Update all URLs in your content, scripts, and stylesheets to HTTPS to fix mixed content.
Q5: Does SSL protect against all cyber threats?
SSL encrypts data but doesn’t protect against malware or hacking attempts. Use SSL alongside other security measures.